How to Setup HubSpot Profile
Congratulations on your investment into you inbound marketing with your new HubSpot portal!
Your new HubSpot portal is a powerful marketing automation tool that you can custom to fit your brand's inbound marketing strategies.
During the initial stages of your new client onboarding, your HubSpot certified partner will be completing the technical setup phase and HubSpot CRM setup. Connecting 3rd party integrations, uploading logos, configuring your domains and inviting users from your organization are all tasks for your rep to complete.
But what tasks should will have to be completed on your end? One of these tasks is setting up your HubSpot profile and preferences and getting started with how to use HubSpot marketing.
Setting up your profile and preferences
Your HubSpot certified partner representative will have access to the majority of your profile. But one of the few places he or she cannot access is your personal profile and preferences.
Setting this up is easy, even for those less technically savvy...
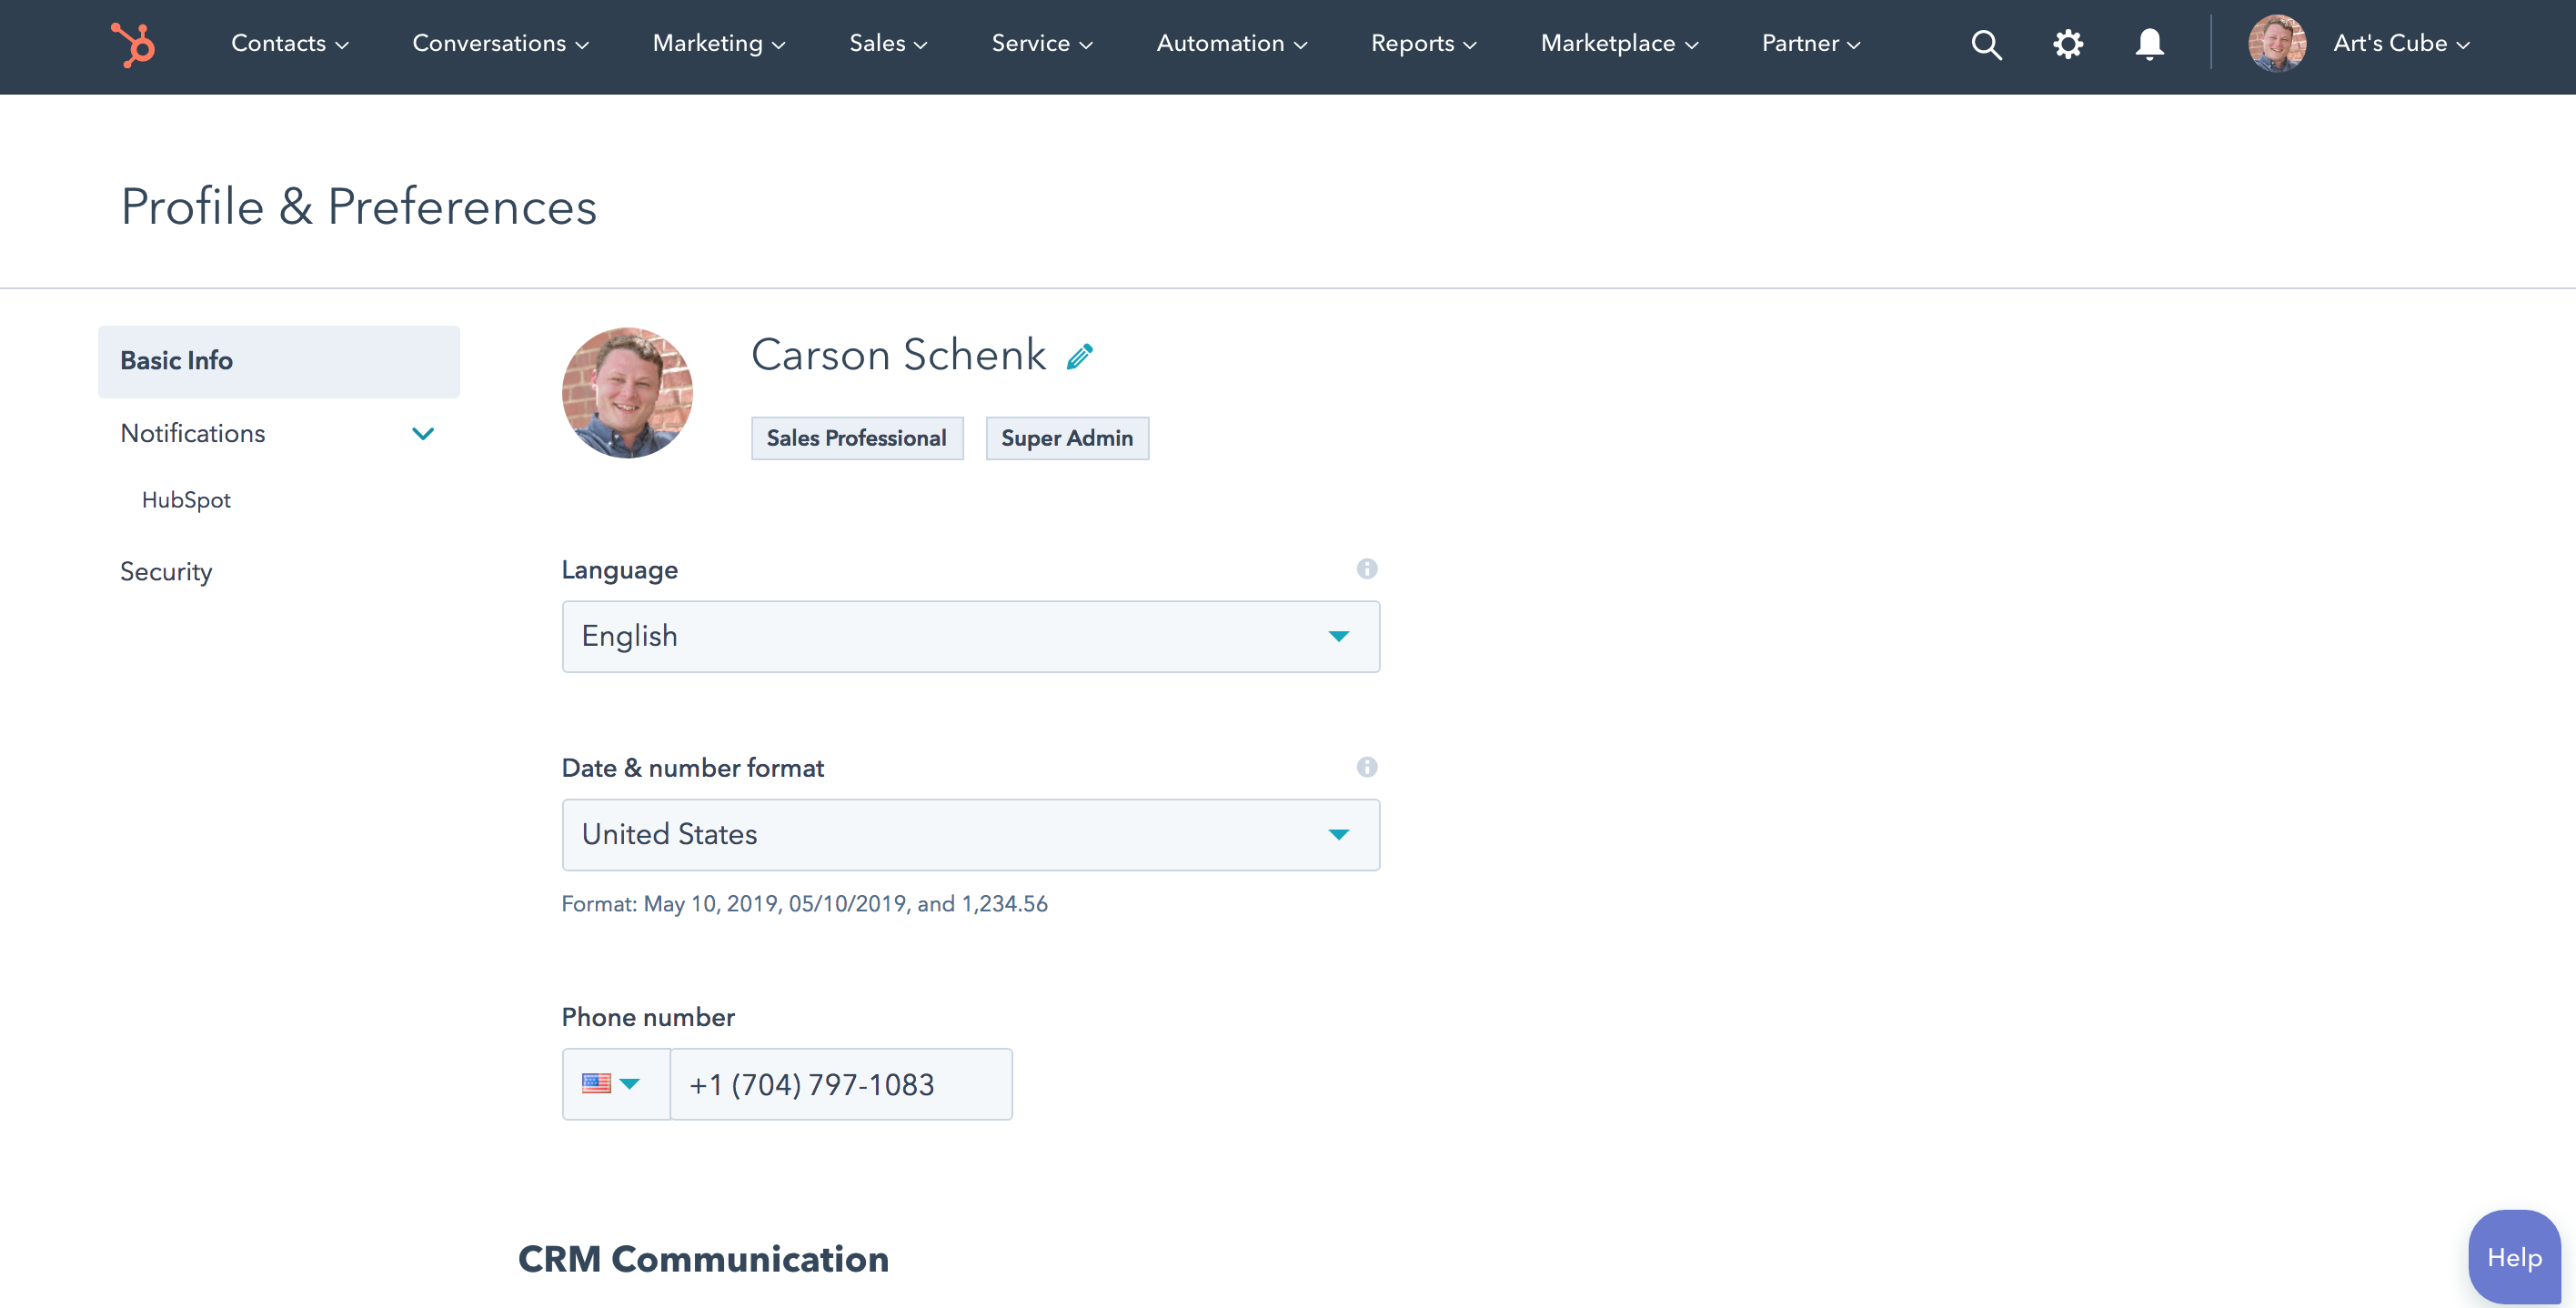
Here are the steps to access your Profile & Preferences:
- Login to your HubSpot login
- Go to the top right corner and find the name of your portal with a drop down arrow and click on the arrow.
- A dropdown menu will appear. Click on Profile & Preferences
Uploading your profile picture
Your HubSpot profile picture is important. This image will appear across your HubSpot portal and also your communication with your contacts. When sending emails, this will be the image your email recipients will see in their inbox. This puts a face to accompany the communication, building trust with your contacts.
- Under Basic Info, hover over the image avatar until a pencil icon appears and then click
- You will be prompted to Upload Image or Use Gravatar
- Select Upload Image
- Choose file from your device, upload your profile picture and click save
Select your preferred language
HubSpot allows users to select between multiple languages. Depending on what part of the world you are in, HubSpot will set the default to your countries language.
Select your language preference and click save.
Enter your phone number

In the form field, this is the box under Phone Number, enter in your work or mobile phone number. Choose the phone number you regularly use to communicate with your customers and contacts. Click save.
Standardize your professional signature
Consistency is important for branding. Creating an organization wide email signature template is simple and prevents confusion for your contacts, especially if multiple reps are communicating with a single contact.
My recommendation for your email signature template is to include the following:
- Full Name and Position/Title
- Company Name - with link to homepage
- Email Address - with a mailto: link
- Work Phone - with a tel: link
- Mobile Phone - with a tel: link
- Schedule a meeting - with link to your HubSpot meetings link
- Disclaimer - this is recommended depending on the nature of your business
You have completed your profile setup
Well done! You have finished setting up your HubSpot profile. Now, when sending emails or becoming an author of your blog, your image will appear. Your email signature will be attached when sending emails within your HubSpot portal to specific contacts. This also includes using personalization tokens with contact properties like contact owner.
Looking for HubSpot pricing? - Click here to see which option fits your organization.

